

In part I, we looked at the three different types of jackfield - the GPO or B-Gauge, the Bantam and the A-Gauge / TRS. But before you decide which type is for you, why would you need one at all?
In the minds of some, jackfields are old technology, replaced by electronics and software. There is some truth in this. If you work entirely “in the box” and are happy doing so, then there is probably little point in a jackfield. If all your audio routeing can happen with the click of your mouse, then you’re not going to get much benefit from a manual system.
However, if you get bored with sample libraries and plug-ins and like to use external hardware - compressors, EQs, reverbs, or even guitar pedals (see Using Guitar Pedals as Studio Effects), you might find a jackfield is the way forward.
Using a jackfield helps you to maximise the inputs and outputs available in your system. With a jackfield, you don’t need to have an audio interface input / output for every unit you own - just the ones you want to use. If you’re recording, you’ll want the outputs of your mic preamps going into your audio interface, but when it comes to mixing, you don’t need them any more, so perhaps you’ll patch in a compressor output in the same place. Or you might be building a collection of mic preamps and you want to choose your line-up for each session. More commonly, you’ll perhaps be building a selection of hardware that you want to choose from. Being able to simply patch that in from the front of your equipment rack as and when you want to use it is the main benefit.
Jackfield design usually has outputs on the top row of each jackfield row and inputs on the bottom, so that the audio signal flows from top to bottom. If you have a mixing desk, you might have multiple jackfield rows, largely mirroring the flow of signal through each channel of the desk. With smaller systems, you might just have one or two rows.
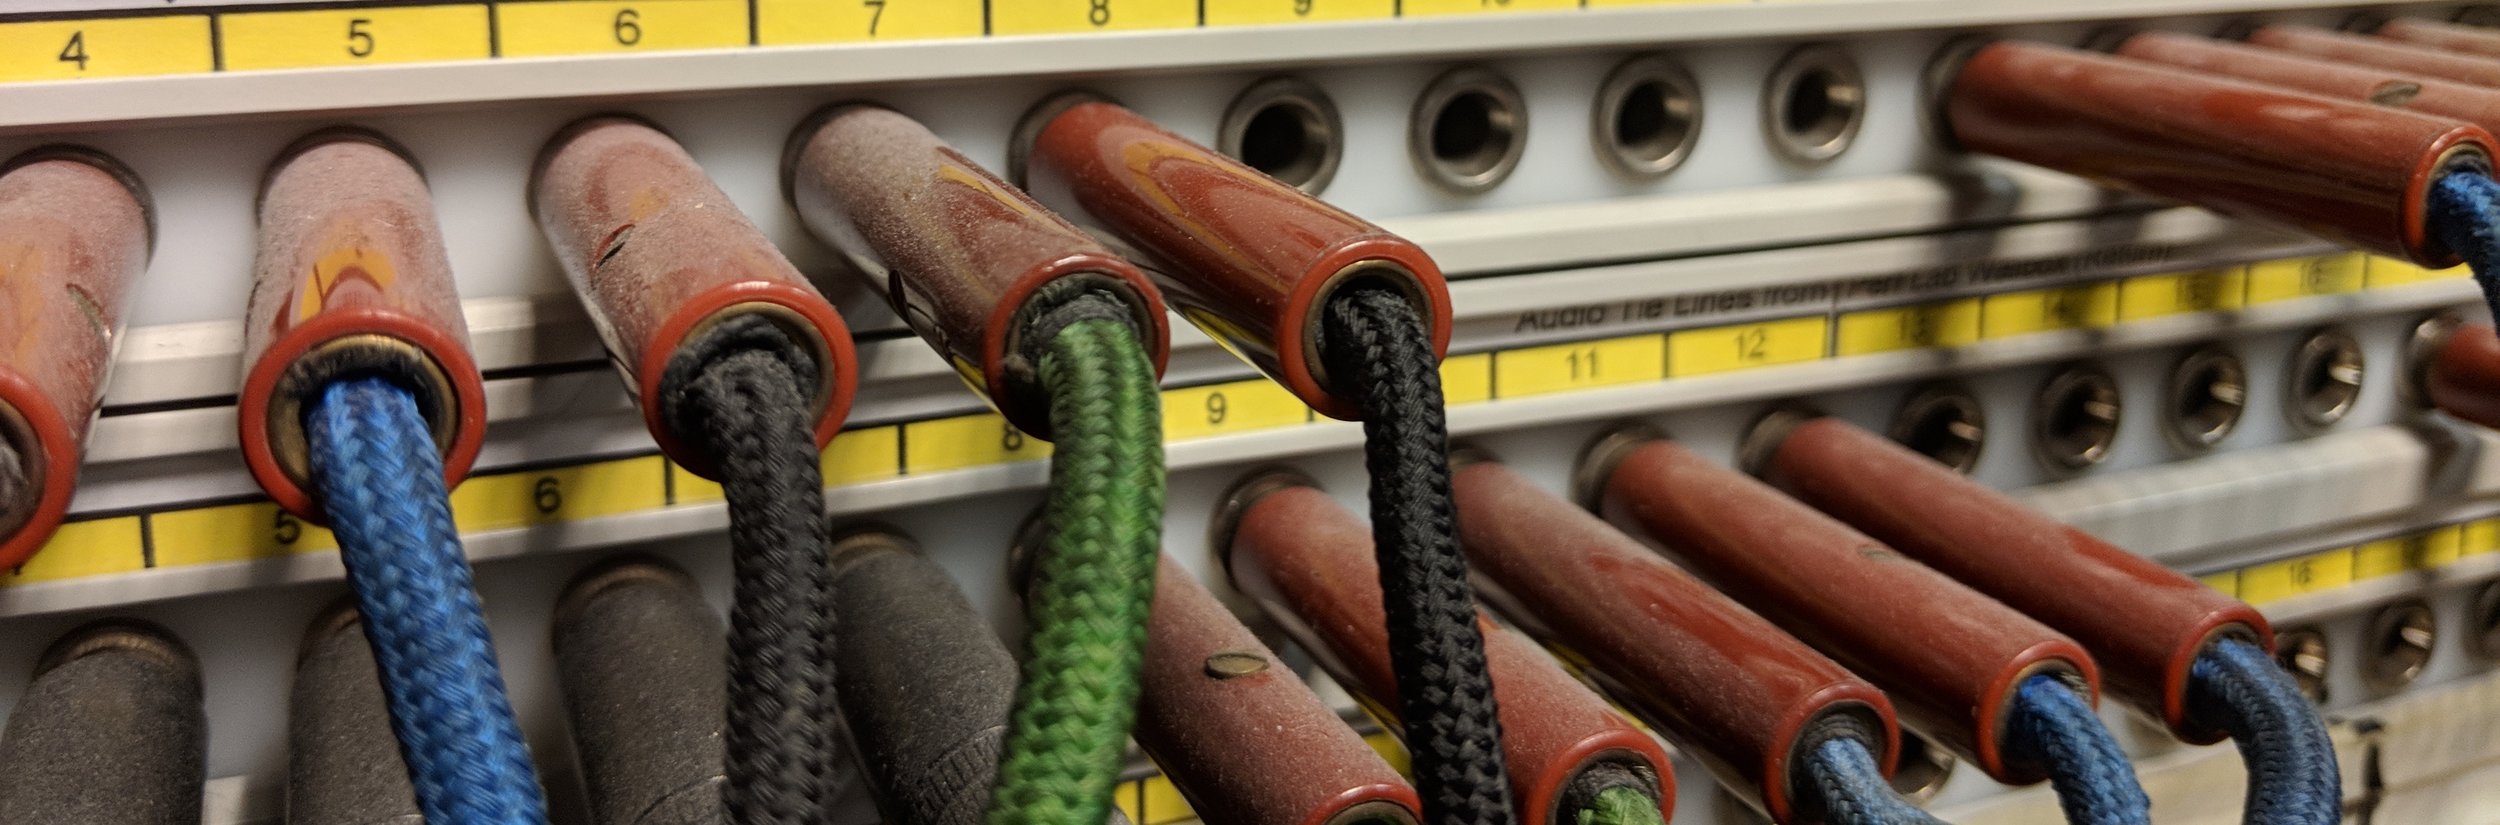
Fig 1: A jackfield for a desk-based Pro Tools system
Normalling
We have to talk a bit about normalling. Normalling is a jackfield wiring protocol that allows two vertically-aligned jacks to be “normally” connected together. This is really useful, and prevents you from having to have hundreds of patch cables connected all the time. The idea is that, in your studio’s default configuration (no patch cables present), everything goes to the right place. So perhaps your main mic preamp goes to your audio interface channel 1 and maybe your headphone amp is on outputs 7 and 8 of your audio interface.
We won’t go into all the different normalling options here - we normally use half-normalling. This means that, where a vertical pair of jacks are normalled, inserting a jack into the bottom row (the input) will break the flow of signal from the top row. So, for example, if you wanted to move your main mic preamp output to channel 2, you’d plug your patch cable into the top row jack 1 and the bottom row jack 2. The top row jack 2 signal would now be disconnected from the bottom row and the output from your main mic preamp inserted in its place.
More to come in Part 3!